Here are two fun and easy ways to color your Easter eggs without dipping them in dye!
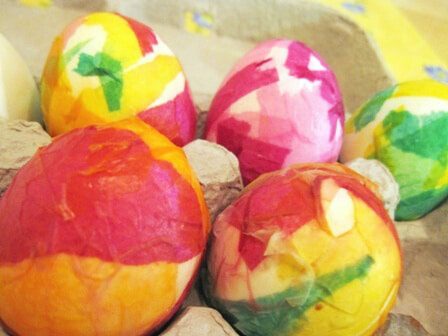
Tissue Paper Maché Decorated Easter Eggs
What’s Needed:
Hard Boiled eggs
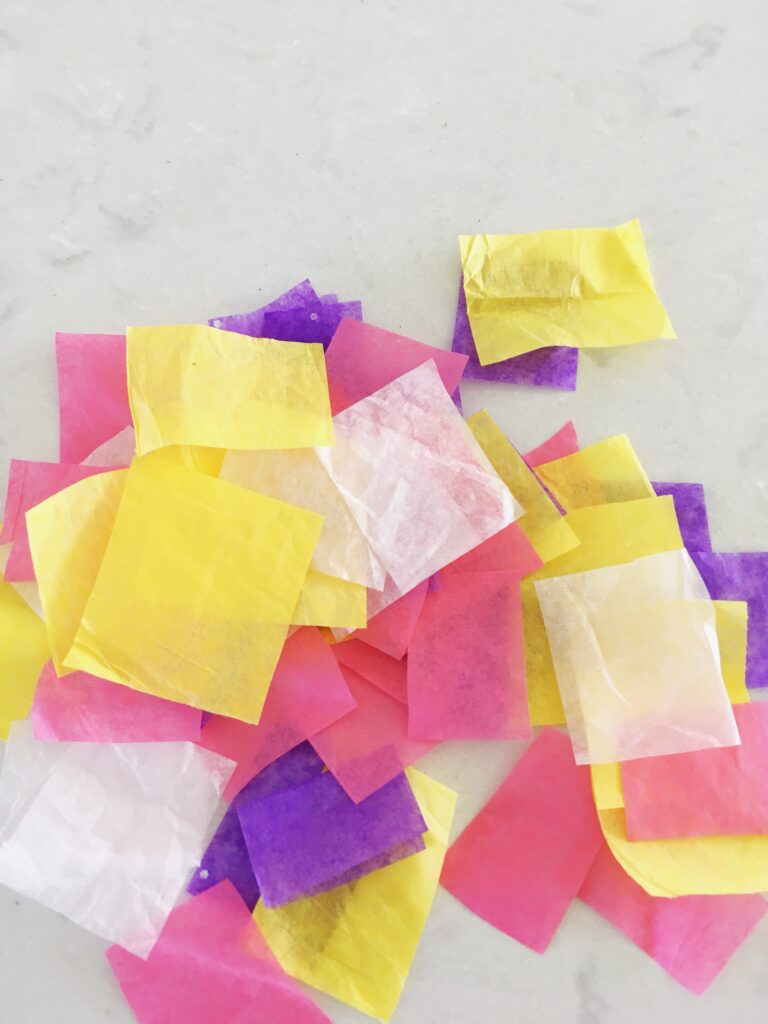
Colored tissue paper (Non-bleeding is fine for this project)
A small paintbrush
“ModPodge” or white school glue
Scissors
Empty egg carton
Small spray bottle with water
1) Gather your hard-boiled eggs in a bowl and set aside to let cool. While waiting, cut up the colored tissue paper into small pieces – roughly 3/4 to 1 inch.
2) Once the eggs are cool to the touch, use the paintbrush or your finger and begin by brushing one with ModPodge or white school glue, just enough to.
3) Start placing a piece of cut tissue paper on the egg using your brush or finger to press it against the egg. (Warn children to not push too hard, or the eggshell may crack.)
4) Continue adding colored tissue paper, overlapping the pieces for effect, until the whole egg is covered with paper. If the ModPodge or glue starts drying, spray lightly with the water.
5) Place paper-covered eggs in the egg carton, and allow them to dry.
6) You may apply another thin layer of ModPodge or glue to the eggs to protect your paper design. To prevent the eggs from sticking to the egg container while applying the extra layer of ModPodge or glue, do the top halves of the eggs first, let dry, and then turn the eggs over and do the bottom halves.
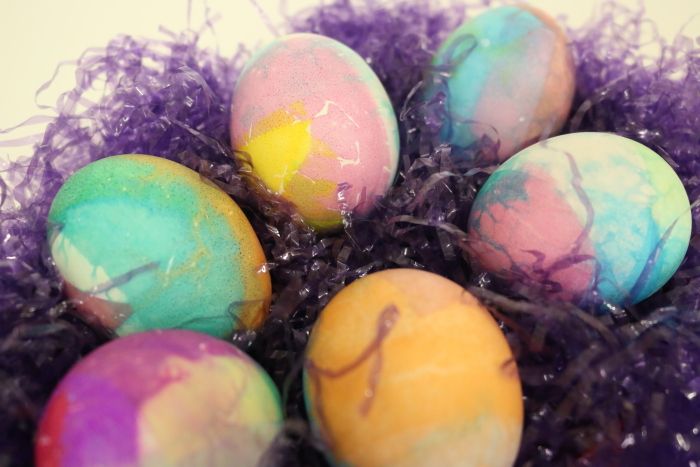
Bleeding Tissue Paper-Dyed Easter Eggs
What’s Needed:
Bleeding Tissue Paper
Scissors
Hard-Boiled Eggs
Water
ModPodge
Mini Spray Bottle
Disposable Gloves
For this project, you will probably want to wear disposable gloves, as the bleeding tissue paper will stain the skin on your hands. It’s important to be sure to purchase “bleeding” tissue paper as you will want the colors to transfer.
It is very important to make sure you have bleeding tissue paper, as it is that feature which will color your eggs. Most tissue papers you purchase for gift packaging are non-bleeding, make sure the packaging says bleeding.
1) Gather your hard-boiled eggs in a bowl and set aside to let cool. While waiting, cut up the colored tissue paper into small pieces – roughly 3/4 to 1 inch.
2) Once the eggs are cool to the touch, begin by brushing one with water with the paintbrush or rub the water on with your finger. You can also use the spray bottle to mist the water onto the egg, but be sure the egg remains wet.
3) Remember to put on your disposable gloves, and start adding pieces of bleeding tissue paper to the egg. Continue until you have covered the egg completely, keeping the surface damp using the the spray bottle, so that the tissue paper sticks.
4) Once the egg is covered with the tissue paper, place in the empty egg carton to dry. The tissue paper will start drying and peeling up and/or falling off. At this point, you can peel off all the paper.
5) When you are done with all the eggs, apply a light coat of ModPodge with the paintbrush. This will help keep the color on the egg and not bleed off.